

Between 2001 and 2010, employers in Ireland reported 27,547 manual-handling injuries that kept people off work for at least three days. Those cases were 33% of all reportable workplace accidents in that period, according to the Health and Safety Authority guide on musculoskeletal disorders. Manual handling isn't a side topic for a short toolbox talk. It's a main route to injury, and a lifting lesson on its own doesn't close it.
Manual handling means any task where people lift, lower, push, pull, carry or hold a load by hand or bodily force. A defensible course treats training as the last layer of control. You redesign or equip the task first, then teach people how to handle whatever risk is left, and you check whether behaviour changed, not only whether a certificate was printed.
Table of Contents
- What a Manual Handling Course Must Cover
- Employer and Employee Duties Under Irish Law
- Risk Assessment and Redesign Before Any Lesson
- Tailoring Lessons to Sector Risk
- How to Teach a Safe Lift Step by Step
- Lesson Structure Assessment and Sign-Off
What a Manual Handling Course Must Cover
Manual handling training exists to control injury risk in the tasks people do, not to teach lifting in the abstract. A complete course walks the learner through six components, in the order they meet them on the job. Use the table to audit a provider's outline. If a row is missing, the course is a talk, not a control.
| Component | What It Covers | Why It Matters |
|---|---|---|
| Legal duty | Employer and employee responsibilities and the duty to avoid, assess and control risk | Sets the reason the training exists and who must deliver it |
| Task risk assessment findings | Load weight, frequency, posture, grip, floor and workstation for the actual tasks | Makes the lesson specific to the work rather than generic |
| Handling technique | Safe lifting, lowering, carrying and team-lift methods for the tasks identified | Gives workers a method they can apply under real conditions |
| Load and route decisions | Choosing mechanical aids, planning the route and deciding whether a load should be split | Shifts the focus from lifting skill to planning the task |
| Escalation and reporting | When to stop, ask for help or report a task beyond safe capability | Stops workers improvising when a task is unsafe |
| Practical demonstration | Observed handling in the real work environment | Proves the skill, not just knowledge of it |
Legal duty comes first so people know who decides, not only how to bend. Task findings come next, because a generic crate in a classroom doesn't match a patient, a pallet or a pipe. Technique, route choices and the right to stop sit on top of those findings. The practical demonstration is the proof.
Take this table to your provider or internal designer and mark which rows are absent from the proposed course. A missing escalation row, or a practical that never leaves the training room, is the gap to close before you book dates.
Employer and Employee Duties Under Irish Law
Two people dragging a crate past an unused pallet jack have already skipped the first duty. That duty sits with the employer. Under the Safety, Health and Welfare at Work (General Application) Regulations 2007, Part 7, hazardous manual handling must be avoided where it is reasonably practicable. Redesign the task, supply a mechanical aid, or change how the work is organised. Training covers only the risk that remains.
Readers in Northern Ireland or Britain should check their own regulations. The Irish duty is not a template you can copy across the border.
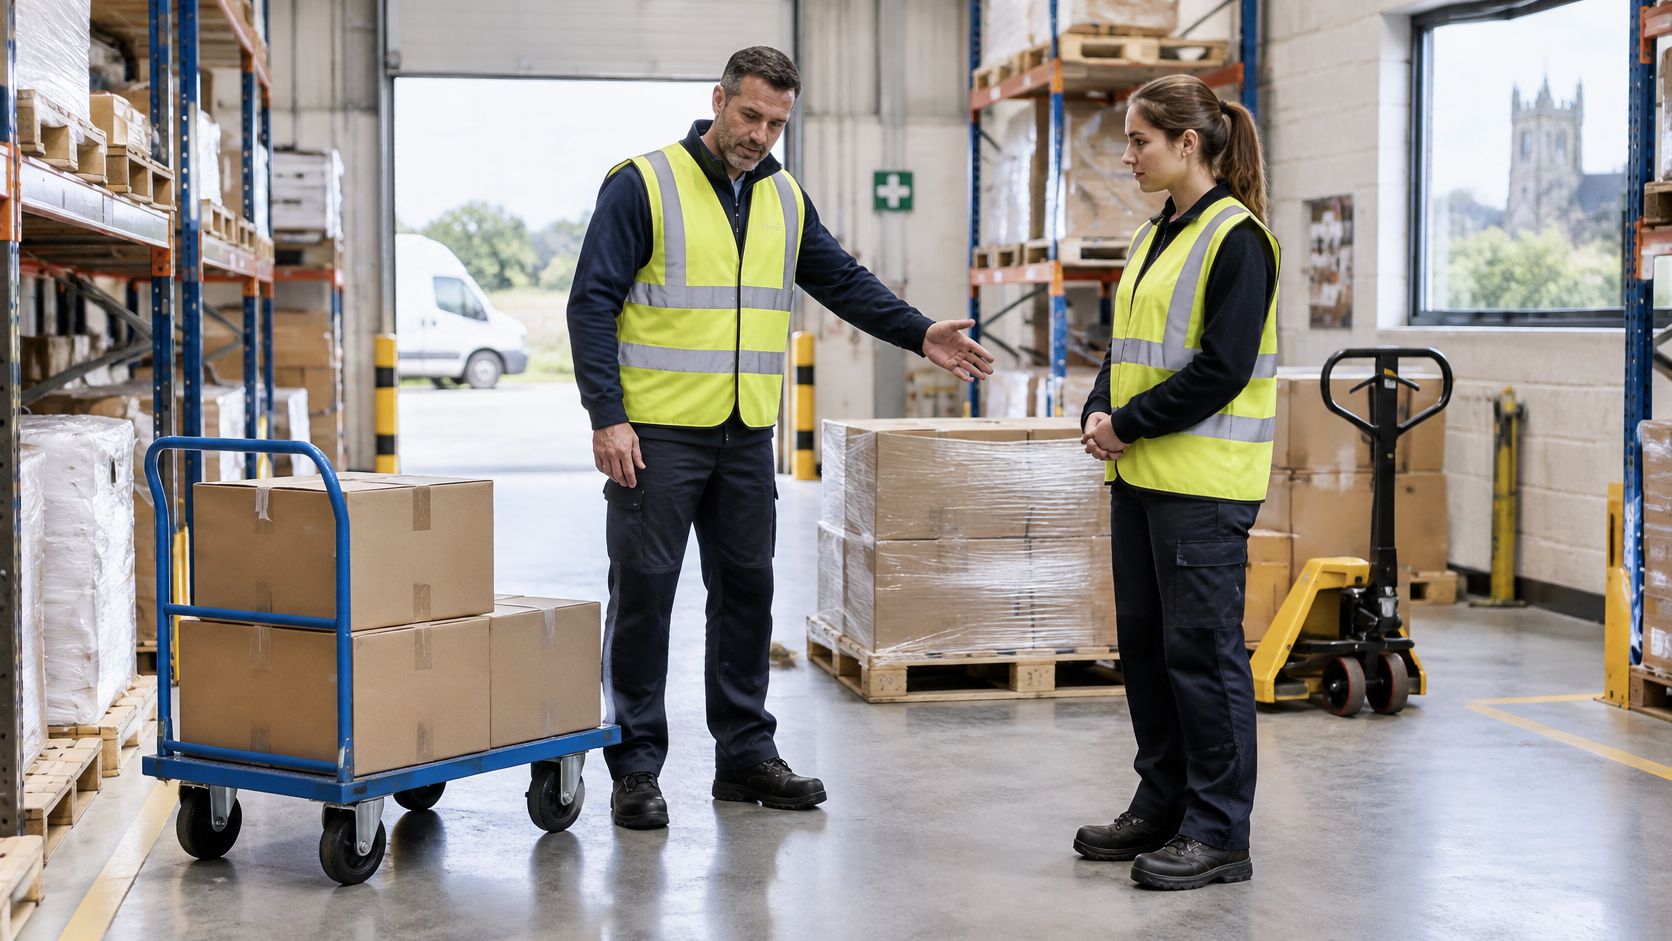
Where some handling cannot be removed, the employer assesses it and gives information, instruction and training tied to the employee's real tasks, the risk assessment and the safe system of work. A slide deck about "good lifting" that ignores the store, the ward or the site fails that test. It works like teaching someone to swim from a diagram while the pool stays shut.
Who may teach, and what employees owe
Instruction should come from a person competent for the work being taught, whether that is warehouse loads or patient handling. Refresher training should follow any change to the task, the equipment or the work area. Your records should show that competence is maintained, not only that someone was certified once.
Employees have a parallel duty. They follow the safe system, use the equipment provided, and report a hazard or a task they cannot manage. A late shift does not give them room to invent a shortcut.
Training is the last layer in a stack of controls, not the lid that holds the stack together. If the layers underneath are missing, the certificate doesn't keep anyone safe.
The practical test is simple. Can you show a risk assessment, a written system of work, and records of who was trained and when? If any of those is missing, book the course after you build them, not instead of them. Teams that need a structured way to brief those duties can start from health and safety training built around the actual procedure, not a generic lift.
Risk Assessment and Redesign Before Any Lesson
A stockroom team lifts 20 kg boxes from the floor to a shelf about forty times a shift. Booking a lifting lesson first treats training as the opening control. It belongs at the end, after the task has been redesigned or equipped.
The Health and Safety Authority puts the primary emphasis on eliminating or redesigning the task. Employers must first consider mechanical means and other controls to avoid manual handling. Where handling remains necessary, they assess load weight, frequency, posture, floor conditions, grip, workstation design and equipment before they choose controls. Lesson content is built from that task risk assessment. A generic course does not satisfy the duty on its own, as the HSA manual handling risk management guidance makes clear.
Better lifting technique is often the weakest fix when the system creates the exposure. In health and social care, manual handling remains a common trigger for reported incidents. Repeating the same transfer, on the same bed, with the same short staffing, leaves that exposure in place. It works like repainting a cracked step and hoping nobody trips.
What the assessment must measure
| Factor | What to Check | Example Finding That Changes the Plan |
|---|---|---|
| Load weight | Actual mass including packaging and tools | Heavy or unbalanced loads move to a trolley or lift aid |
| Frequency | Lifts per shift and per day | Frequent repeated lifts need a redesign, not only technique training |
| Posture and reach | Twisting, bending, overhead or long reach | Awkward reach triggers a workstation change |
| Distance and height | Carrying distance and height from floor to destination | Long carries or high lifts need route changes or lift tables |
| Grip and load shape | Handles, grip points and whether the load is stable | Poor grip or a bulky load calls for a different handling method |
| Floor and route | Slips, obstacles, slopes and stairs | Uneven or obstructed routes need fixing before training starts |
| Workstation and environment | Bench height, lighting, temperature and space | Poor layout is a system fault that training cannot correct |
| Individual capability | Whether the person can safely do the task, including pregnancy or injury | Unsuitable tasks are reassigned or escalated |
Work through the factors in that order on the task. A finding in the right-hand column should change the plan before anyone is shown a technique.
Redesign first, then teach the remainder
Use this order. A course date already in the diary is not a reason to skip a step.
- Remove the lift if the goods, the patient or the part can travel another way.
- Use a mechanical aid, such as a pallet truck, hoist, conveyor or lift table.
- Reduce the load by splitting packs or changing the unit size.
- Change staffing or the workflow, including team handling with agreed signals.
- Train only for the residual risk, on the method that is left.
On those 20 kg boxes, the useful change is a height-adjustable lift table and a split load. Training then covers the method that remains: how to set the table, how to slide rather than hoist, and when a damaged box goes back to the supplier. After the change, watch whether people do those three things on a normal shift. An attendance sheet only shows who sat in the room.
Before you book any course, the supervisor should be able to answer one question: what would stop this task being done by hand?
If the answer is "nothing, we've always lifted it", the assessment is not finished. Document the residual risk, name the control you refused and why, and only then brief people on the handling that remains.
Tailoring Lessons to Sector Risk
A warehouse picker and a care assistant can share a room and still need different lessons. The picker repeats short carries between awkward shelf heights. The care assistant moves a person, often with a second carer, a hoist and an agreed signal. The same slogan, "bend your knees", teaches neither of them the task that remains after the load has been reduced or mechanised.
Sector figures show why one script fails. An HSA summary of 2009-2010 workplace-injury data found that manual handling was associated with 47% of incidents in wholesale and retail trade, 40% in manufacturing and 38% in health and social care. Those shares describe reported incidents in that analysis. They are not a ranking you can paste onto this year's site without looking at your own tasks.
Construction sits in a different analysis, so those wholesale, manufacturing and care shares should not be lined up against it as if they were the same count. What that earlier picture does show is that handling still matters on site: lifts, carries and controls aimed at the back. Use your own assessment, not a borrowed percentage, to decide how much of the day that gets.
| Sector | Manual Handling Share | Training Focus |
|---|---|---|
| Wholesale and retail trade | 47% of incidents | Repetitive picking, carrying and awkward storage |
| Manufacturing | 40% of incidents | Handling around machinery and production flows |
| Health and social care | 38% of incidents | Patient movement and sustained awkward postures |
| Construction | Handling remains a common reported injury theme, including the back | Lifting, carrying and back-risk controls |
Match your sector's row to the top two tasks in your own assessment, and give those tasks most of the practice time. A retail refresher that spends half the day on patient hoists wastes the session. A ward session built around pallet trucks does the same.
Manufacturing practice belongs beside the line, where guards, conveyors and pace change the route. Construction practice belongs on uneven ground, including the decision to use a mechanical aid for blocks or boards. The lesson is the last control, not a substitute for the aid.
Check the result on the floor, not on the certificate. Watch whether the picker slides the split load at the set height, and whether the care team waits for the signal before the move. If people revert to the old lift by the next shift, the lesson did not change the task.
Where several sites share one programme, corporate training solutions can carry the same duty and assessment logic while the scenarios change by sector.
How to Teach a Safe Lift Step by Step
Apply these steps only to the residual task, the handling left after the assessment has removed or mechanised what it can. Practise on the site's real load, such as the stockroom's split boxes on the lift table, not a generic crate in a hired room. If step 2 shows a trolley, an aid or a second person is required, stop the lesson and send the task back for redesign. Don't coach a heavier lift to save the timetable.
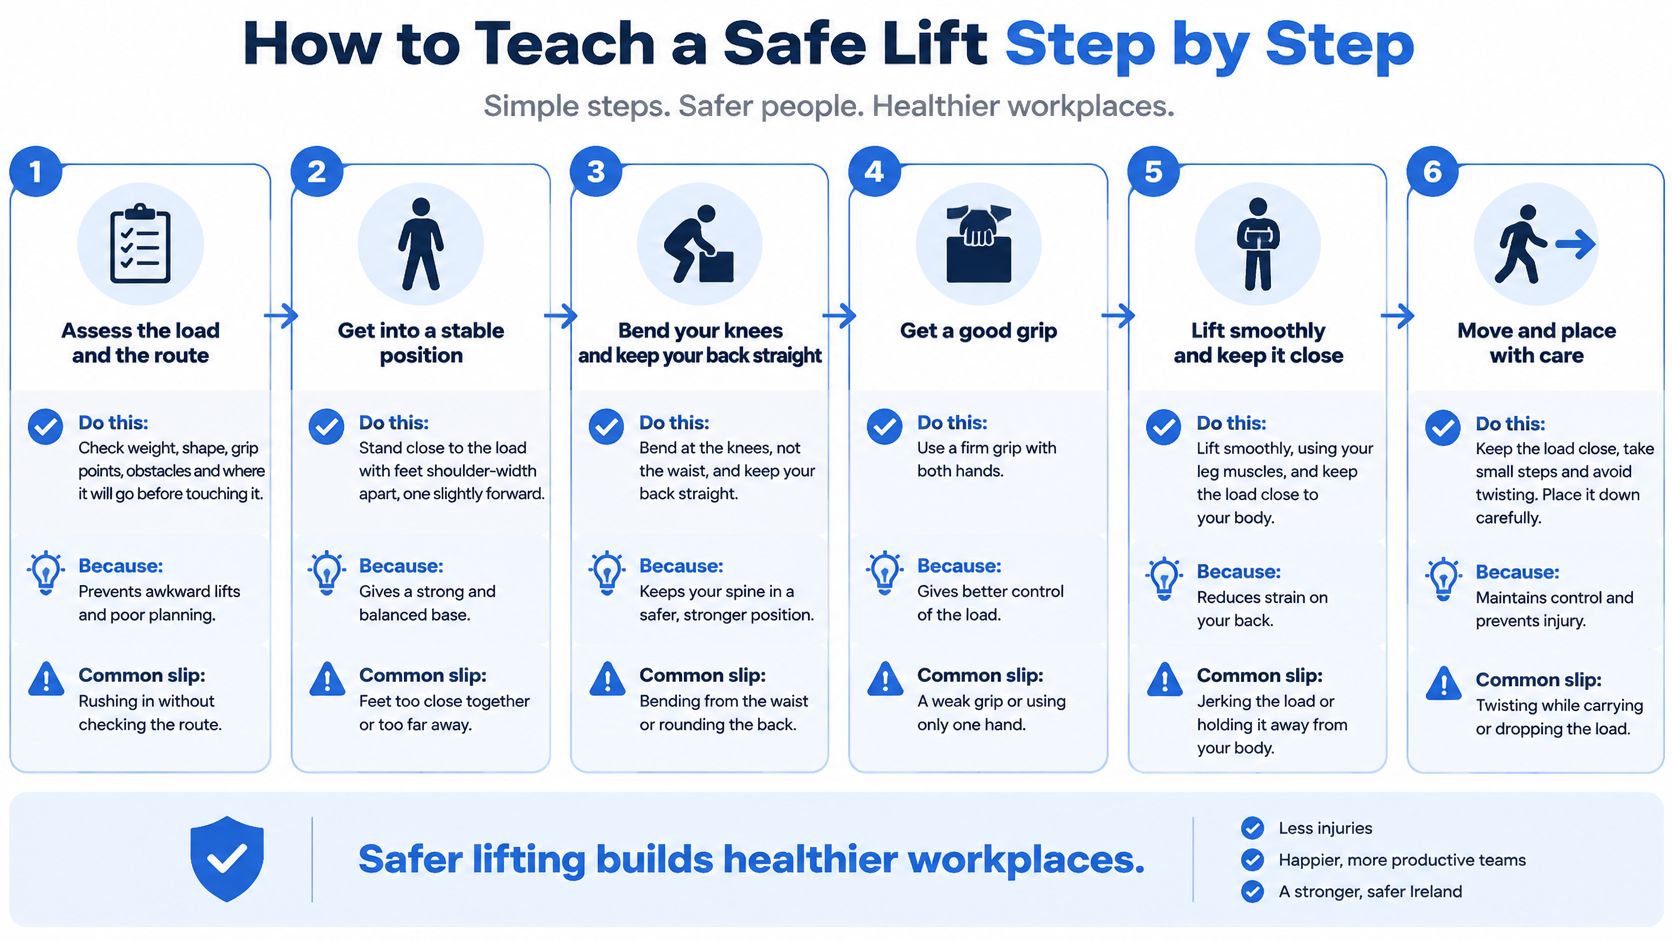
- Assess the load and the route before anyone touches it. Check weight, shape, grip points, obstacles and the destination. People skip this when the load looks familiar. Familiar isn't the same as safe.
- Plan the lift. Decide whether a trolley, a lift aid or a second person is needed. The common slip is treating "I'll manage" as a plan.
- Set the feet about shoulder-width apart, one slightly forward, close to the load. A narrow stance is what makes the first step a stumble.
- Bend at the hips and knees, keeping the back in its natural curve rather than rounding it. Don't cue "straight back" so hard that the person locks rigid and can't move.
- Get a firm grip with the load close to the body. Reaching out to a far corner, then snatching, is how shoulders and discs take the load instead of the legs.
- Lift smoothly using the legs, without jerking or twisting. A jerk often means the load was heavier than the plan allowed. Stop, don't "power through".
- Carry with a clear view ahead. Turn by moving the feet, not the trunk. The usual fault is a rushed pivot while the load is still rising.
- Lower in reverse, using the same hip and knee pattern. Dropping the last few centimetres to save time undoes the lift.
- Stop and report if the task exceeds what the person can do safely. Improvising with a second unofficial helper, or a broken trolley, isn't teamwork. It's an unassessed lift.
How to coach it
Demonstrate once at full speed, then once slowly, naming only the point you're teaching. Let the trainee practise with a lighter version of the load while you watch. Correct one fault at a time. Stacking four corrections in one sentence means none of them sticks.
To an observer, a good lift looks like a stable base, the load held close, no twist, and a clear stop-and-report decision when the task doesn't match the plan. Score those four points. They're the same evidence you'll use later in the workplace practical, so the classroom and the floor aren't teaching two different standards.
Lesson Structure Assessment and Sign-Off
Build the session in six moves, and keep any timings as planning estimates based on how many procedures you're teaching. They aren't legal minimums.
- A short opening on why the duty exists. About one-third of workplace injuries reported to the HSA are caused by manual-handling activities, and earlier national guidance put manual-handling injuries at 34% of reportable accidents in 2003, as the HSA manual handling myth note records.
- The task risk findings for the jobs in the room.
- A demonstration of the residual method only.
- Supervised practice in the workplace.
- Assessment, using more than one method.
- A refresher plan tied to change, not only to a calendar.
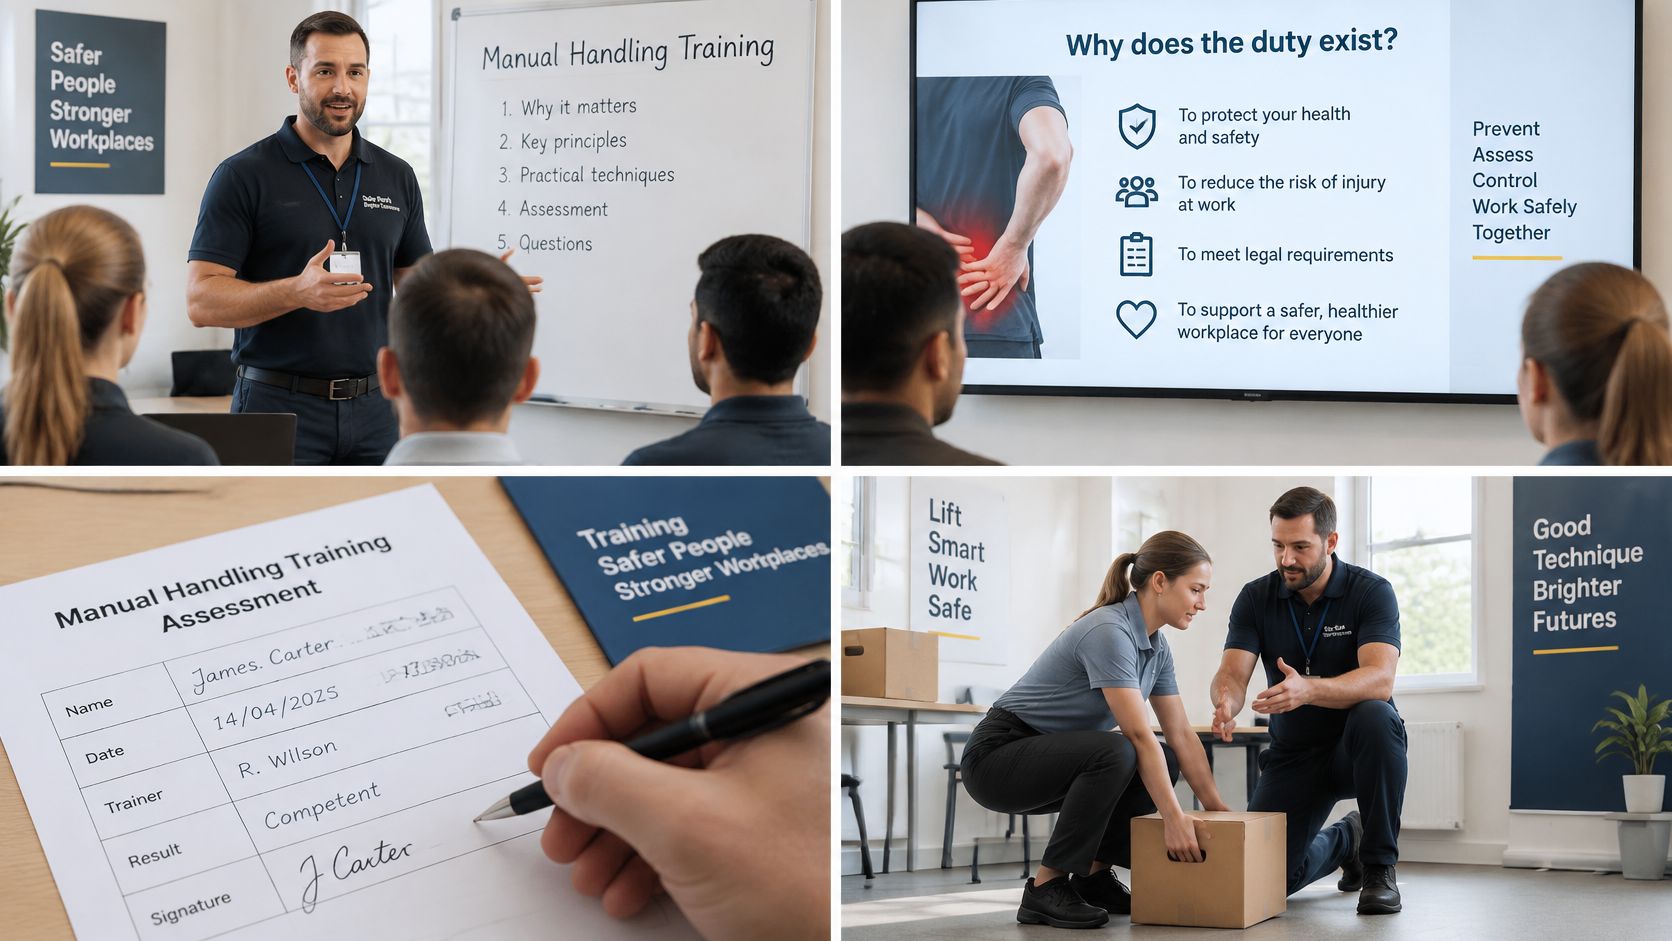
HSA guidance puts the practical element in the workplace, delivered by a QQI Level 6 Manual Handling Instructor, with refresher training when work, equipment or the work area changes. A systematic review of manual-handling training found that workers commonly report better understanding and awareness afterwards, but that this doesn't reliably produce behavioural change, and the evidence didn't show that training reduces work-related musculoskeletal disorders. A certificate is attendance. It isn't proof the workplace is safe. The employer still owns the risk management, and any alternative approach has to give equivalent protection.
What each check actually proves
| Assessment Method | What It Tests | Limitation |
|---|---|---|
| Written knowledge check | Understanding of duties, risks and controls | Does not show whether technique changes on the job |
| Observed practical in the workplace | Handling technique under real conditions | Needs time, a competent observer and a safe space |
| Scenario-based decision | Judgement on controls, escalation and load decisions | Shows reasoning, not sustained behaviour |
| Supervisor observation after training | Whether safe practice continues over time | Depends on consistent supervision and recording |
Combine at least two methods. A written pass plus a tidy classroom lift still leaves you blind to whether people stop an unsafe task on a Friday afternoon.
Realism, three outcomes, and the months after
Use video of the site's own tasks, and roleplay of refusing an unsafe load or asking for help. Realistic scenes of hazards, injuries and difficult conversations are appropriate in safety training when they serve a genuine learning purpose, and the way those scenes are shown can be adjusted. Check every scenario against the risk assessment so the film doesn't teach a lift you've already decided to remove.
Before you publish or use the materials, arrange verification by a suitably qualified person. That's essential for safety and compliance training. AI-generated material still needs review against the client's actual procedures and the applicable requirements. Generation doesn't guarantee regulatory compliance, and it doesn't by itself show that a course meets a law or an employer's training duty.
Sign off three outcomes separately, and keep the evidence with the training record.
- Knowledge: the written or verbal check on duties, risks and controls.
- Observed safe practice: the workplace practical, scored on base, load position, twist and the stop decision.
- Reduced exposure: fewer hand lifts, fewer near misses, or fewer strain reports on the tasks you targeted.
Then run a simple follow-up. Review at three months. Observe at least three handling tasks per team. Compare near-miss and strain reports with the figures from before the course. Reassess after any equipment or process change. Between certificates, supervisors coach the task, they don't wait for the next renewal date. If you need the lesson, the checks and the refresher triggers built as one learning flow, training course development can turn the approved procedure into that structure.
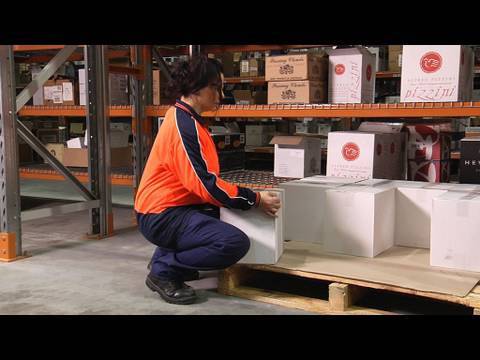
A short workplace clip is a useful briefing before assessors score the practical. Watch how the handler plans the route, keeps the load close and avoids a twist, then use the same four points on your own floor.
Loresson produces bespoke workplace courses, including manual handling training shaped around your risk assessment, your tasks and your jurisdiction, with script, media, assessment and an organised pack ready for review. Operated by Acorn Star, we build safety content that a suitably qualified person can verify before you publish it, so the lesson follows the controls rather than replacing them. If you want a course that records knowledge, observed practice and reduced exposure, visit Loresson and share your procedure, audience and learning objectives.